Monday, February 24, 2014

A02 Progress Work


During today's class, I began to create the brackets which will hold my cube together. I realized that this would be the best way to go about assembling the cube, because with the waffling technique, the curve that runs through the middle of the break would disappear, and a large portion of my design would go unrecognized.

Sunday, February 23, 2014

A02: Cube Transformation Progress


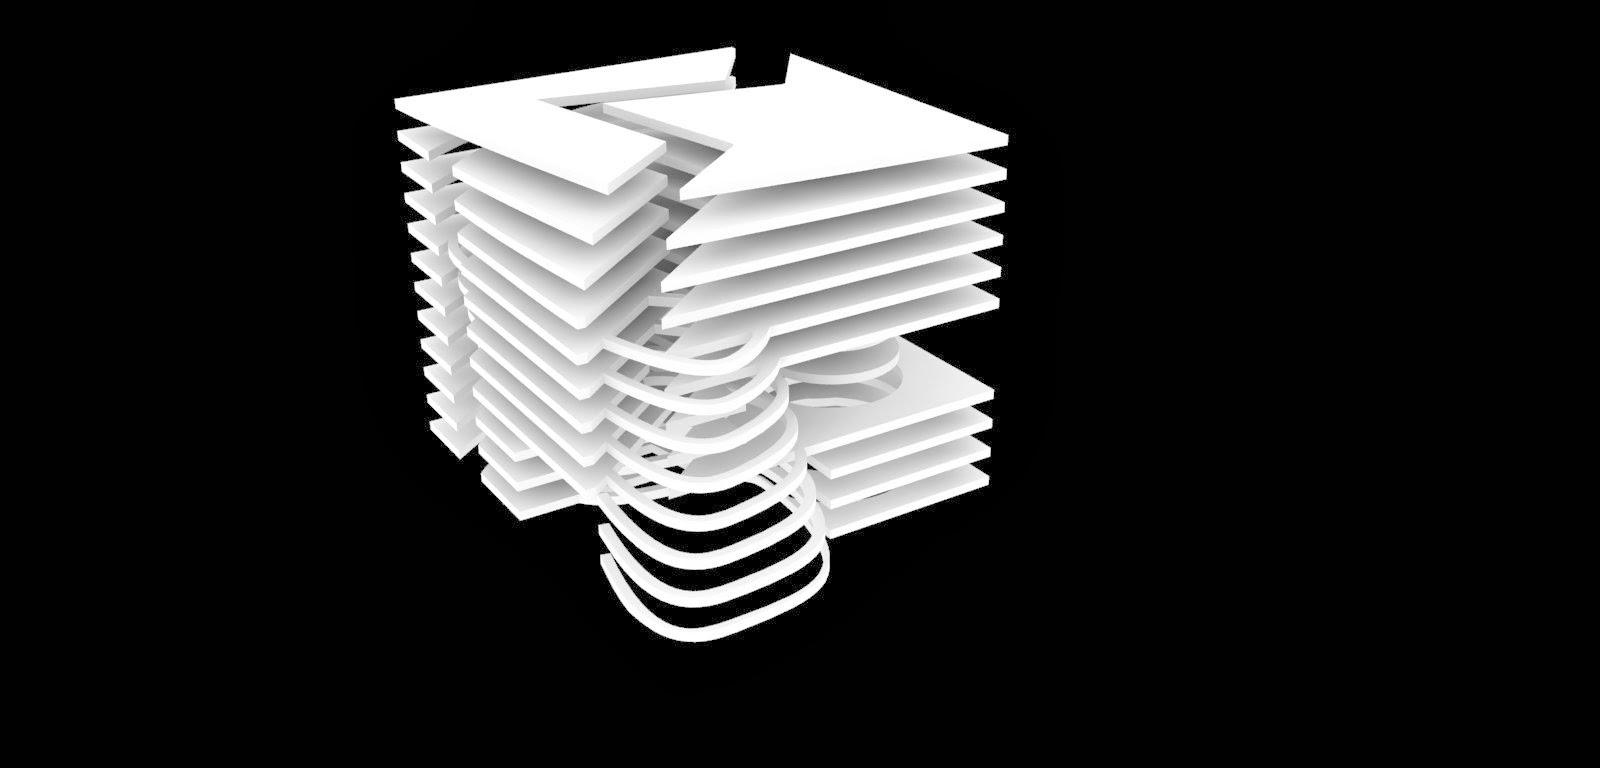
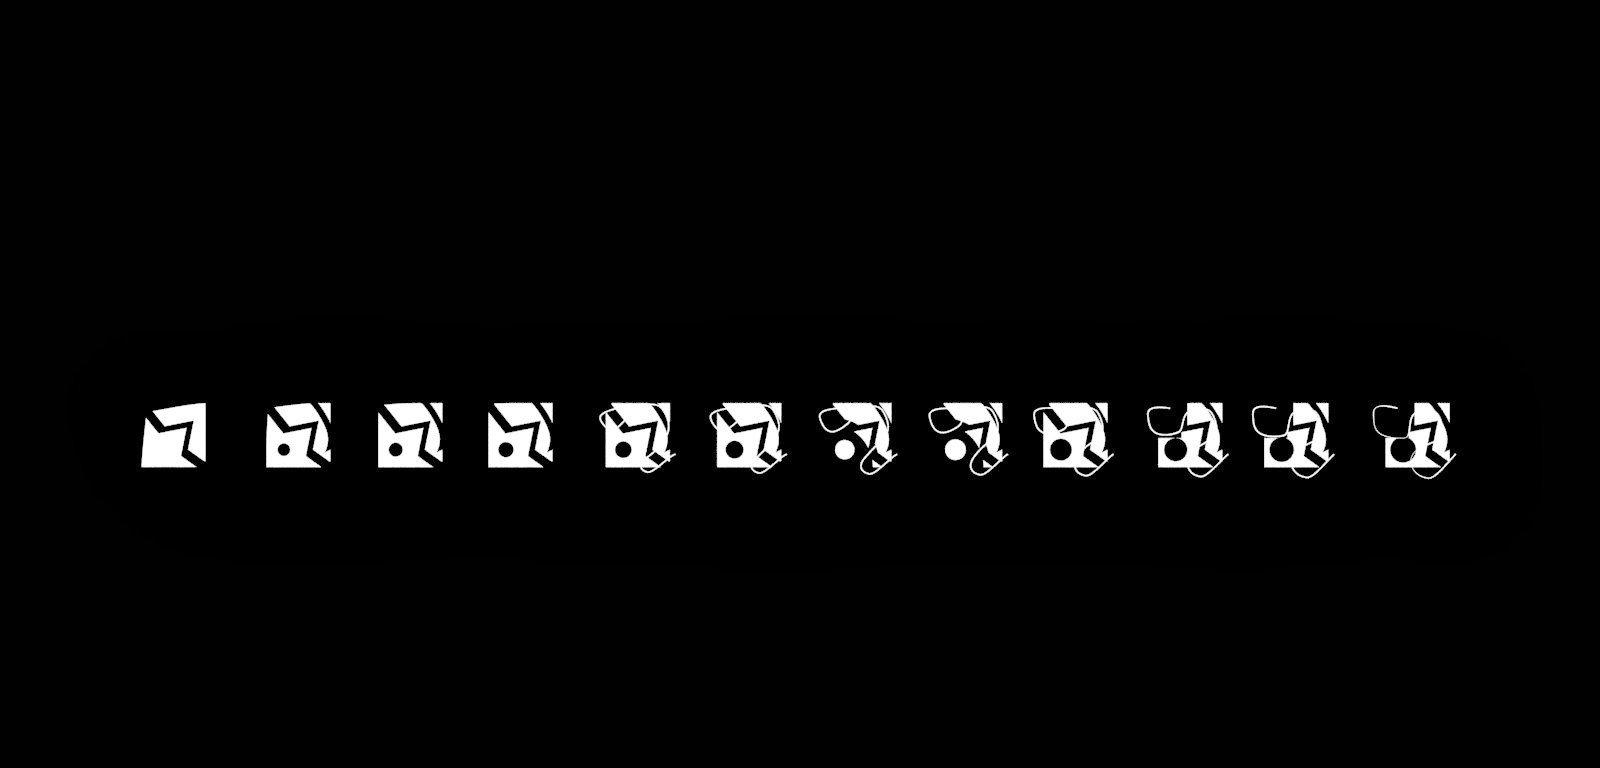
In this iteration, I explored creating solids and voids, and seeing how they switch back and forth within the cube's templates. This came from only contouring the cube once, and after contouring in a second direction, I decided to revert back to the original single-direction contour because I was interested in the shapes that were created. The slow progression and growth in voids as they expand becomes more visible in the later phases of the cube, though there is always alternation between solid and void, and the different layers create a pattern of void morphing into solid, and back.
The rendering I created highlights the curve that runs through the entirety of the cube, as well as the schism between the two halves of the cube. I picked this angle because it highlighted how the curve extrudes from the surface as the progression from top to bottom continues, and it is emphasized by the division running through the center.

Wednesday, February 12, 2014

Through this project, I learned how to use the different command functions on Rhino, and got a good grasp on various manipulations that could be done using Illustrator. Through editing line weights (contours as well as hidden lines), my designs became more clear and consistent throughout my entire spread. Additionally, learning how to use color to further express ideas (addition and subtraction) makes the diagrams very visually appealing  and easy to read. Plans and elevations were taken from several angles, allowing for the cube to read throughout all it's facades. However, what I struggled with most was creating the void spaces. Because my cube had too many planes and cut-outs, the Boolean Difference option failed through various attempts. I resolved this by extracting the wire frame of the cube, turning the curves into surfaces, and extracting them to highlight the different voids seen in my cube design.

Monday, February 3, 2014

A02


Because this was my first time using Rhino and Illustrator, this project became challenging as it progressed. I felt that I understood how to use Rhino after a tutorial in class and after exploring it on my own, I started to discover features that I now feel comfortable doing, though there are still many techniques that I am interested in further learning. What I struggled the most with was transferring everything into Illustrator, and creating the line weights from there. I explored certain controls such as white vs. black arrows and their effects on what is being manipulated. As a further challenge, I practiced InDesign by making my rough layout on a new document and also exploring shortcuts and commands. Through this project I was able to begin to understand how to use certain features in photo editing to my advantage, in computer programs (and eventually hand drawings).